Well it seems like a lot of people have been trying out snow dyeing this winter so I’d thought I’d give it a go just to say I’d also done it.
The idea behind this technique is to make up your dyes and then take them outside and squirt the dye onto the snow and let it freeze. The snow is then scooped up and dumped on top of the fabric, which is scrunched up in whatever method you want, and then let melt. The dye hits the cloth in random patterns caused by the snow melting.
Since I’ve never done this before I didn’t know how much dye to squirt on the snow but I figured that the dye would be diluted by the snow and the colours fairly pale at the end of the process so I squirted on the dye fairly thick. The main pile of dye was a mixture of black, sapphire blue, blue-purple and ivory. I did make some other piles of mixed and single colours.
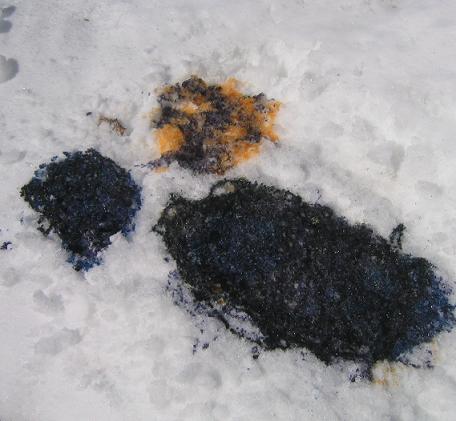
Snow on dye – black, blue-purple, ivory, sapphire
I decided to dump some ivory coloured snow into the bottom of the pail because I knew that I’d be inverting the pail and thought the ivory being a paler colour should rest on top of the fabric. That way at least there would be one corner where the ivory dominated and this is what happened although the picture of the final fabric doesn’t show the whole amount of ivory in my one yard piece. I then scooped up my main dye colour snow pile and alternated it with some of the other piles of dyed snow.
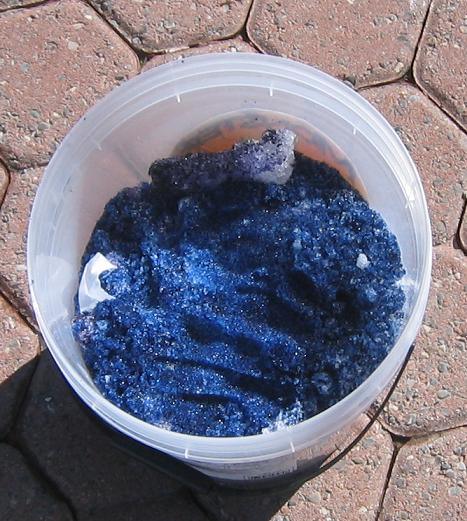
Snow/dye in pail alternating layers with 1 yard of fabric.
I took the pail and inverted it over a rack into the laundry sink, having placed the plastic lid to the pail underneath first. I left this for quite a few hours before removing the pail. The snow hadn’t really melted that much in this time. I left the pail off until I went to bed and then put it back over so the material wouldn’t dry out overnight.
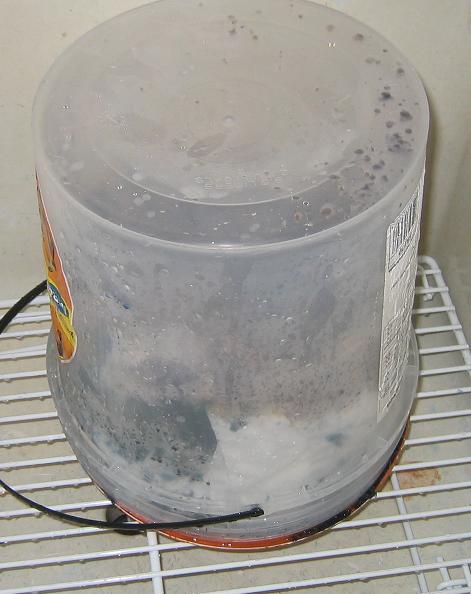
Bucket flipped in sink and left to sit.
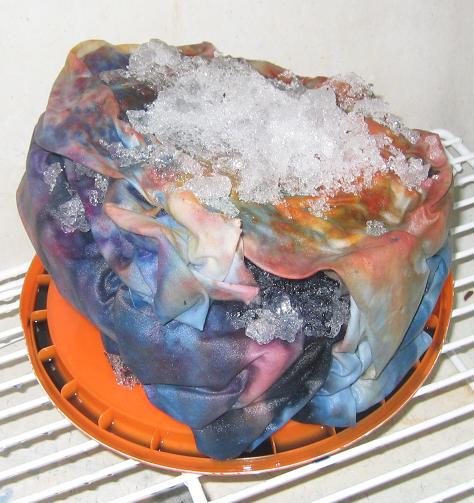
Pail removed after several hours.
The next morning most of the snow/ice had melted but there were a few little clumps left. Being impatient I just dumped the rest into the sink and then put the fabric into a plastic shoe box and covered it with the lid and popped it into the microwave and nuked it for a couple of minutes. I then plopped the plastic container into the laundry tub which I’d filled with hot water.
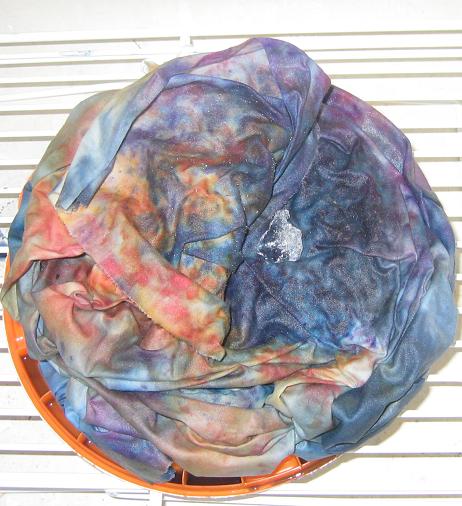
Pail removed next morning, still some ice left.
After leaving the fabric to batch a bit in the hot water I washed it out and ironed it. The picture below is a bit more colour intense that what the material looks like in real life.
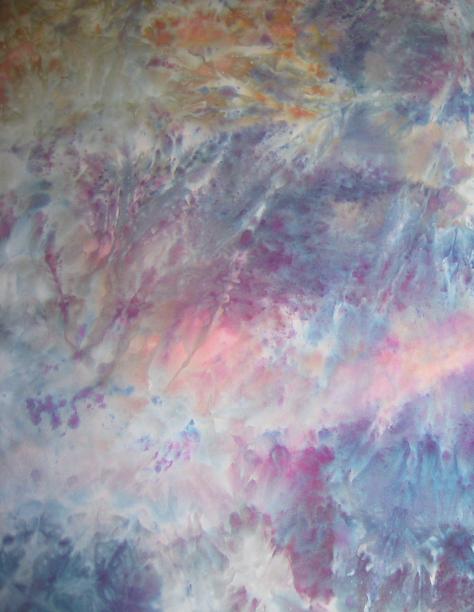
Snow dyed fabric – black, sapphire blue, ivory and blue-purple.
I’m kind of disappointed in the results. The dye hit the fabric more like speckles than a washout type of effect – sort of like paint splatters if you’ve ever done that type of technique. There were some areas where the melted effect came through. My friend Judy (check out Links) has just done quite a few snow dyed pieces and I think hers turned out better than mine but she did hers slightly different in that she scrunched her material and dumped all of the snow on top. Maybe this makes a difference because I’m thinking her snow probably melted quicker than mine. I don’t know, maybe it was the dye. I have quite a bit of fuchsia in the piece, which must have come from the black and purple. I know fuchsia strikes the soda-soaked fabric quickly and doesn’t disperse like other colours do.
I found it amazing that the dye seemed to take to the fabric despite the lower temperatures. Procion MX dyes work best at a minimum temperature of 70 degrees but this piece seemed to dye well regardless. In case you’re wondering why I nuked the material it’s because normally the dye needs a certain temperature to work effectively with the fabric.
Anyhow I’m too lazy to try further experiments. Judy and Kelly both have some nice snow-dyed pieces so hit the links on the sidebar and check out their blogs. I’d say this technique is for someone who likes to play and enjoys the randomness of it all. If you decide to give it a go don’t forget to soak your material in soda ash first.
I’m wondering what the mailman thinks of my leftover coloured patches of snow. Hopefully he won’t be stepping in them, maybe I should shovel them aside….hmmm.
Karen

I think your piece is geourgeous! I would be very happy with the way that turned out. If you don’t like it you can always send it my way. VBG
I like it.}:)
Makes me wish we had snow!
I think it is beautiful, also. There is no control so you have to go with how it all flows. It’s a lovely piece of fabric. You gave an excellent description of your process. the advantage of dyeing your own fabric is that each piece is unique to itself. Beauty is in the eye of the beholder. Ann
It is gorgeous…I certainly would not be unhappy to have it! :))
KAREN!!! That is a wonderful piece!!! How can you be disappointed??? If you want to get rid of it……. I’d LOVE to give it a happy home!!! You did a great job and you should be very proud!
Kelly
Darn we don’t have snow so I can’t experiment….lol. I do like the effect and it would be interesting to see what other effects you could get. If nothing else you proved to yourself that you could do it and it worked. Now I have a mental image of the postman looking at amazement at the coloured snow…..wicked grin…and wondering just what you get up to in your free time.
Wow, Karen, I love your snow dyed piece. It really has some nice color runs in it. It is beautiful. I hope we have a good snow storm coming before spring, so I can try your way of doing it. You explained it real clear.
I’m not the first to say it but – I want snow!!!! Trying to think of a way to replicate the process – in the freezer!!!! Or perhaps I’ll take a trip to the snow this year and borrow some from the mountains!
Samm